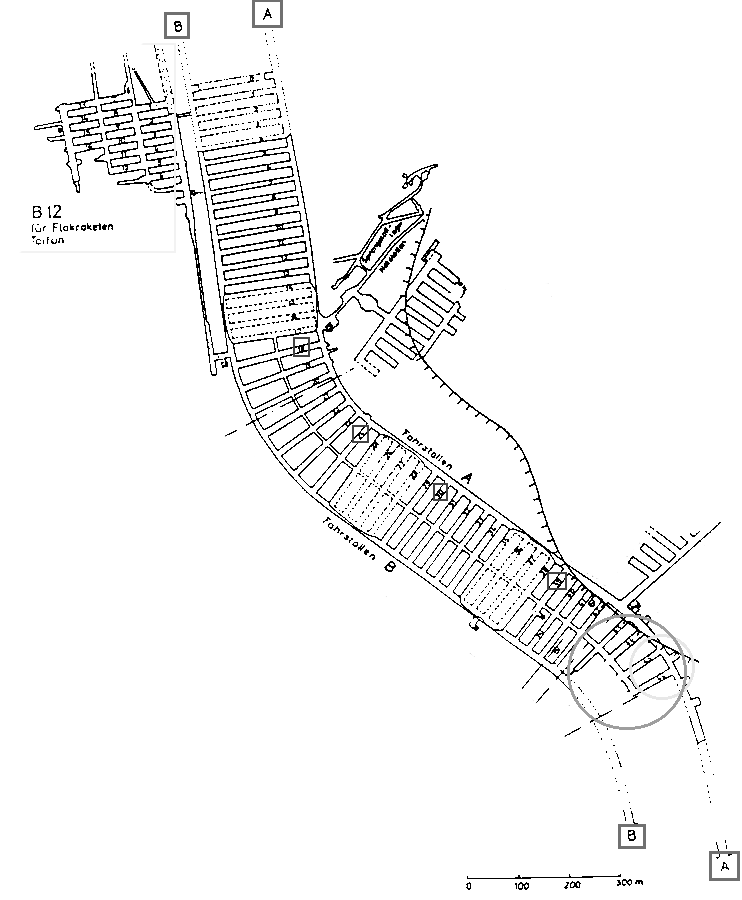
The map is oriented north up. The system began it's life as a strategic petroleum reserve (also known as Project Ni-109, and was built into the mountain from the north. After the Peenemunde raid and the decision to move V2 production here, expansion began from both the north and south at the same time. The A and B tunnels ran through the mountain, and accomodated two regular guage rail tracks. Material would enter the complex through the A tunnel. The tranverse chambers (Kammer) (east-west) was where actual production of parts and assemblies took place. B tunnel served as the main assembly line for the V2, parts and assemblies being added as it moved past the various side chambers. A final step was in a special Kammer built double high so the entire missle could be tipped upright for testing.
The south end of A tunnel would also produce the V1 buzz bomb. The section at the north end splitting off to the west (B-12) was part of the ongoing expansion plans for the system. It was to become a massive underground aircraft factory.
The section splitting off in the middle to the east was to be a liquid oxygen factory and repository.
The upper (northern) 20 Kammers would also come to be used for the production of aircraft engines by the Junkers company.